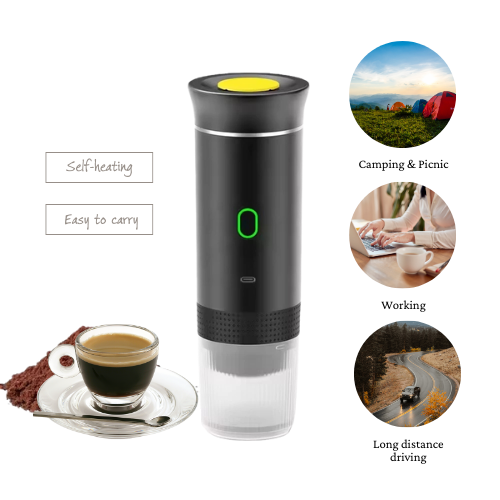
In this article, we’ll show you how to get an espresso from Tiny Patio portable espresso maker using ground coffee. For the best experience and to ensure safe use, please read the user guide/instruction manual that comes in the box. It contains important information on troubleshooting, safety precautions, and proper operation to help you get the most out of your portable espresso maker. If you need a digital instruction manual, feel free to send us a message.
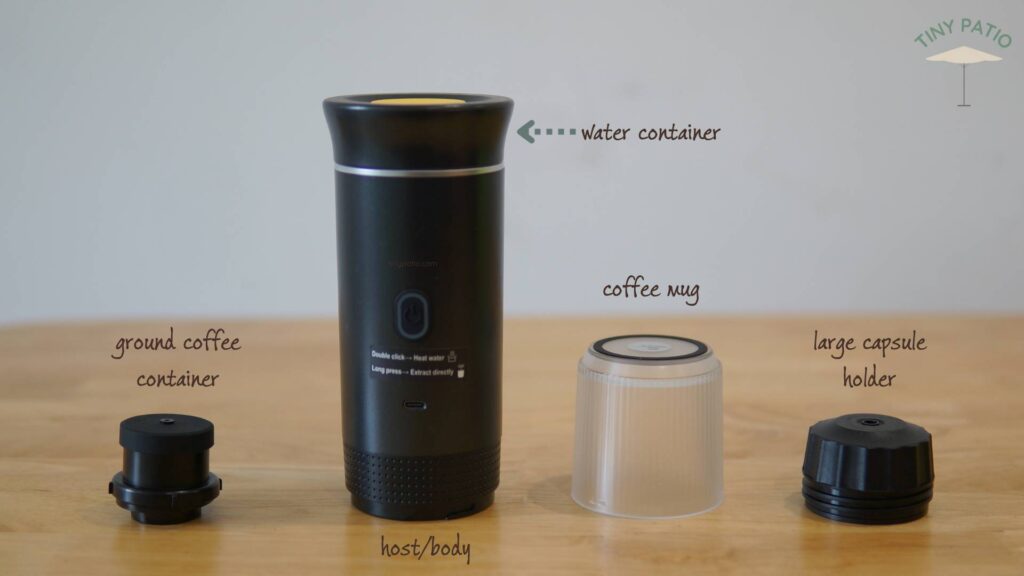
Essential Coffee Machine Parts for Brewing Espresso from Ground Coffee (you don’t need the small capsule holder)
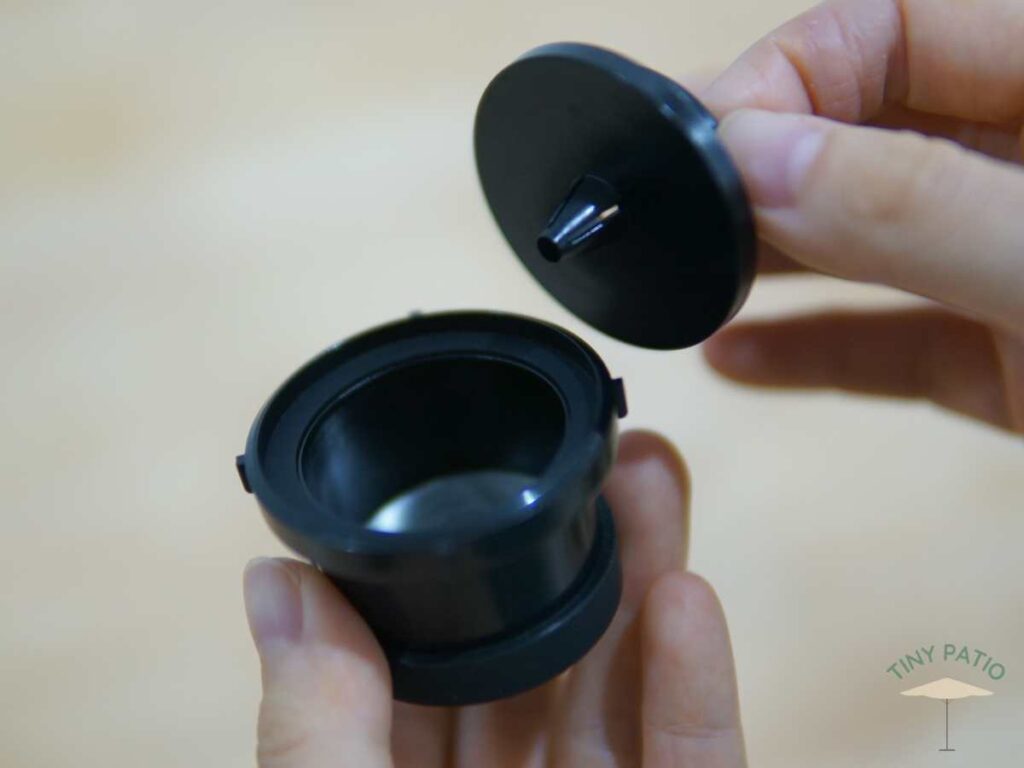
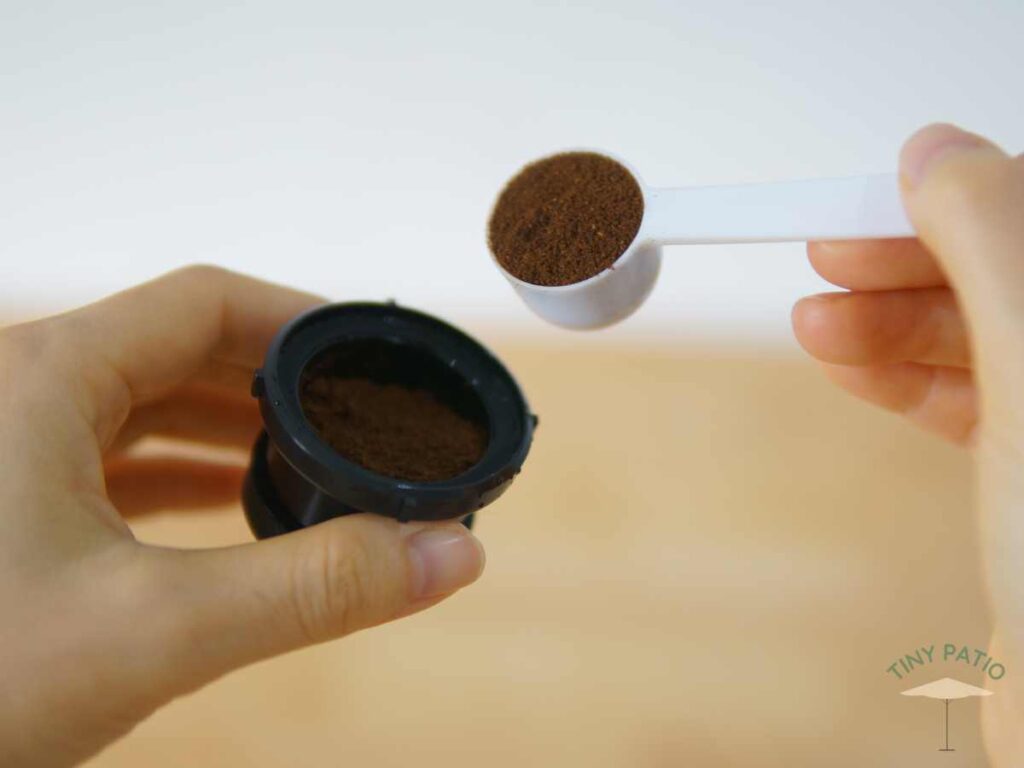
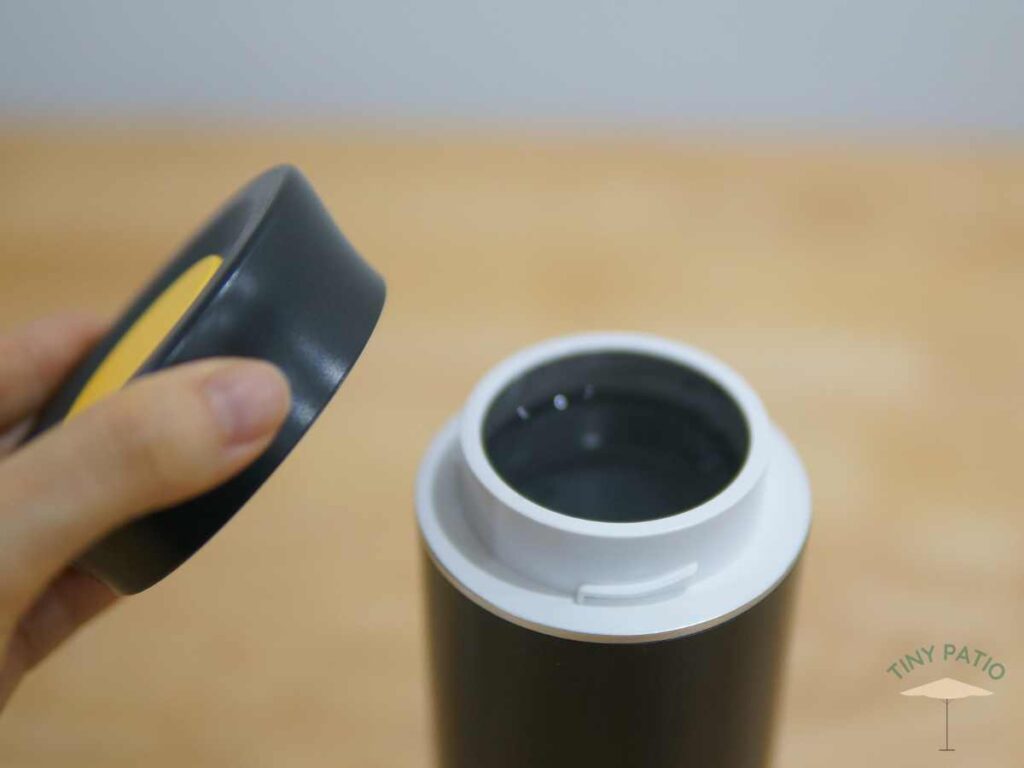
Step 1: Take off the lid of the ground coffee container. If possible, preheat the container.

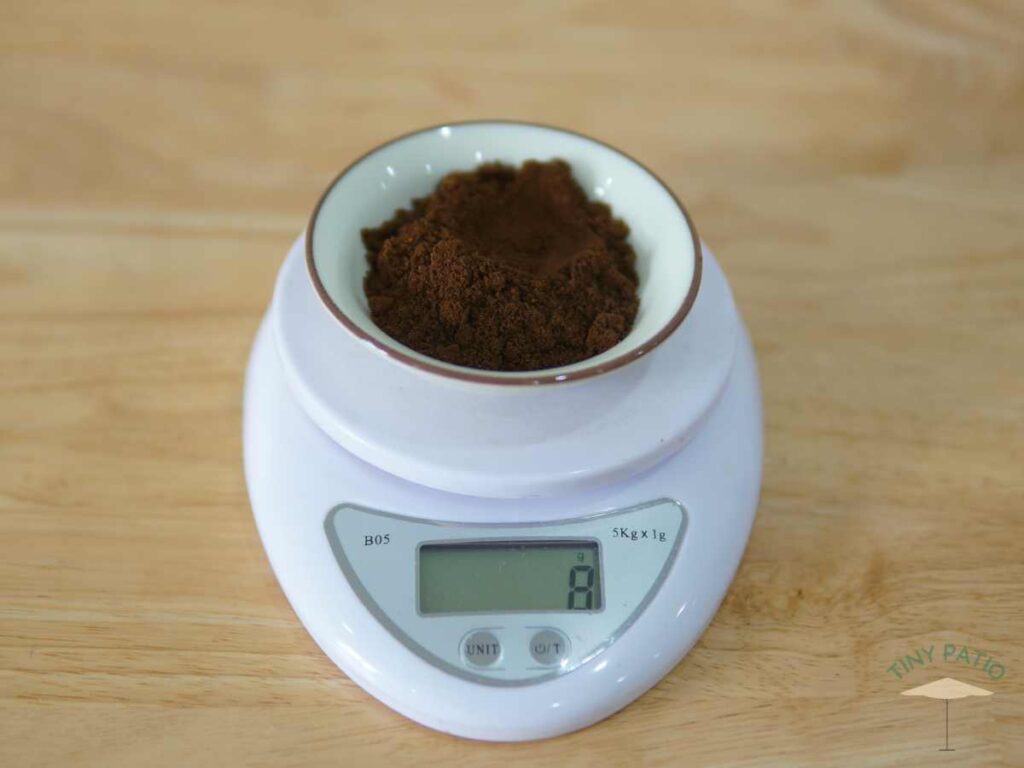
Step 2: Add two scoops of ground coffee (approximately 8g). The plastic scoop comes along with the coffee maker.
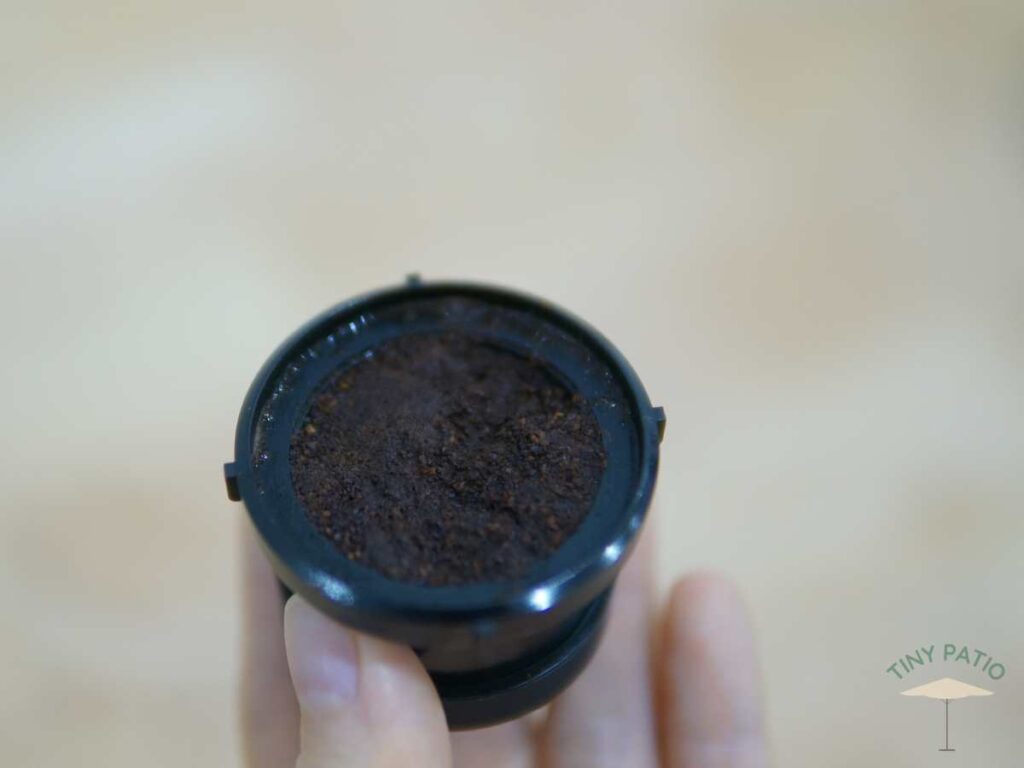
Step 3: Wet the ground coffee, allowing it to "bloom". If you don't wet the grounds before the extraction, you probably get a weak cup of coffee. Put the lid back on.
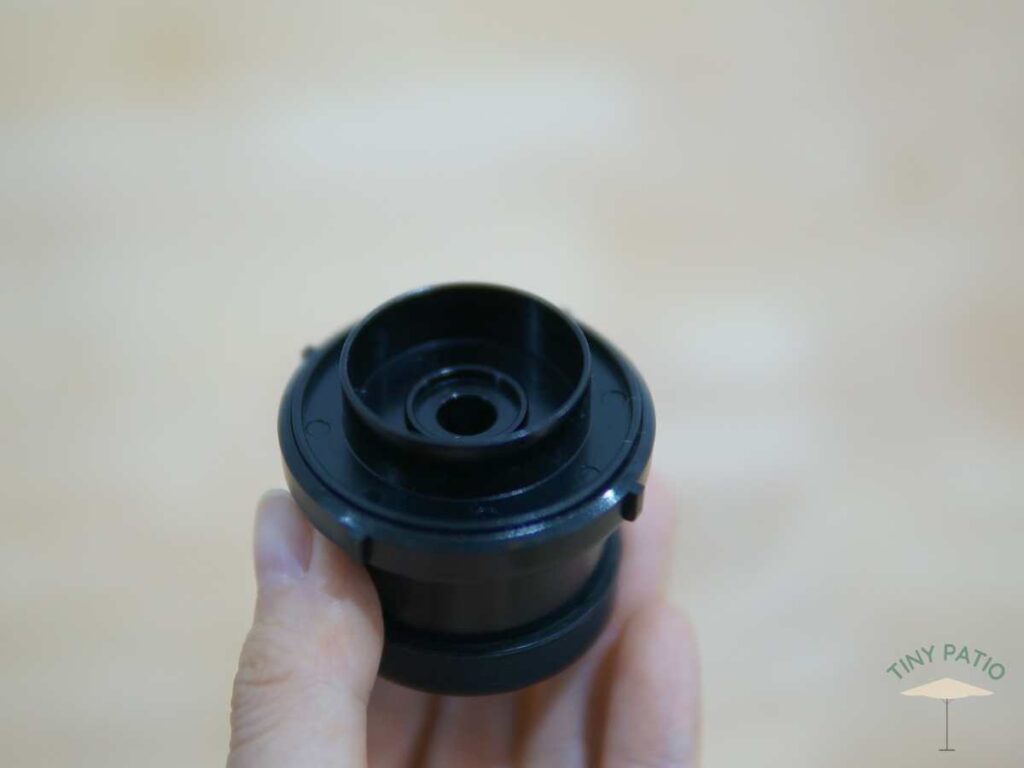
Step 4: Insert the ground coffee container into the large capsule holder
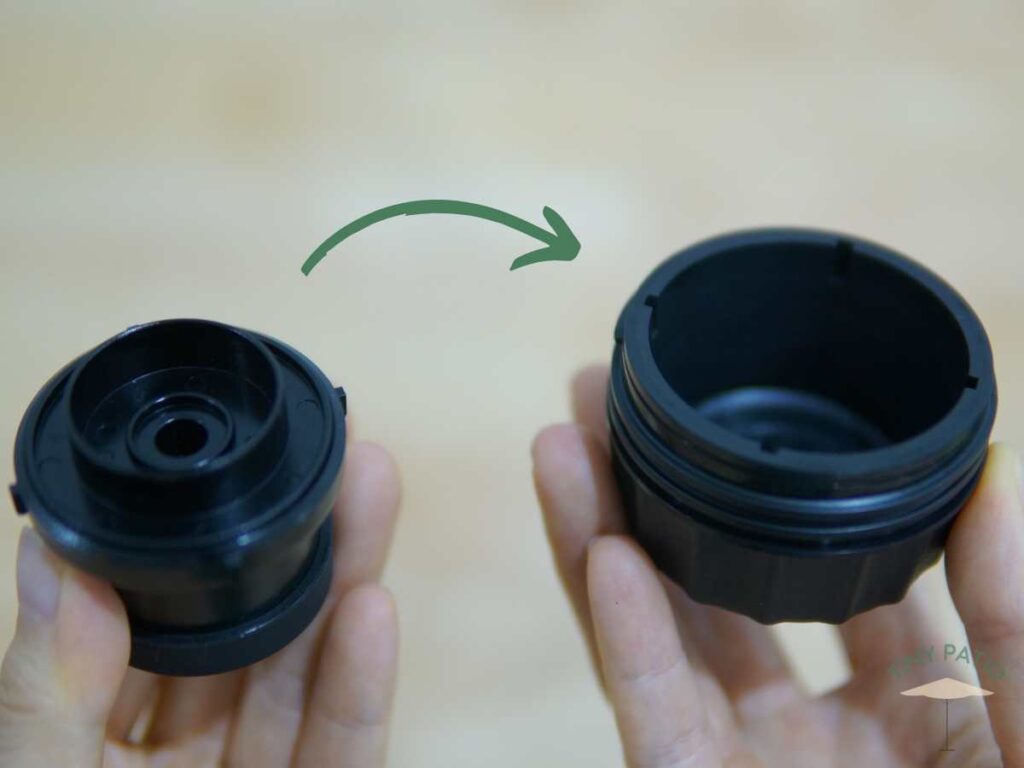
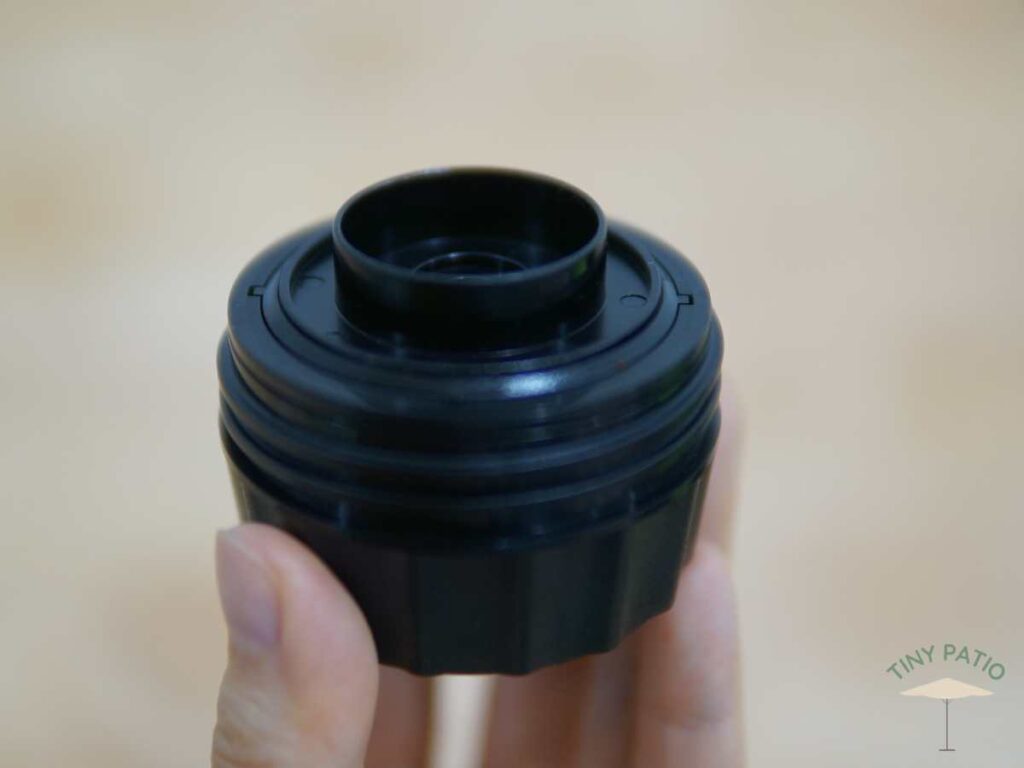
Step 5: Screw the large capsule holder into position

Step 6: Put back the mug

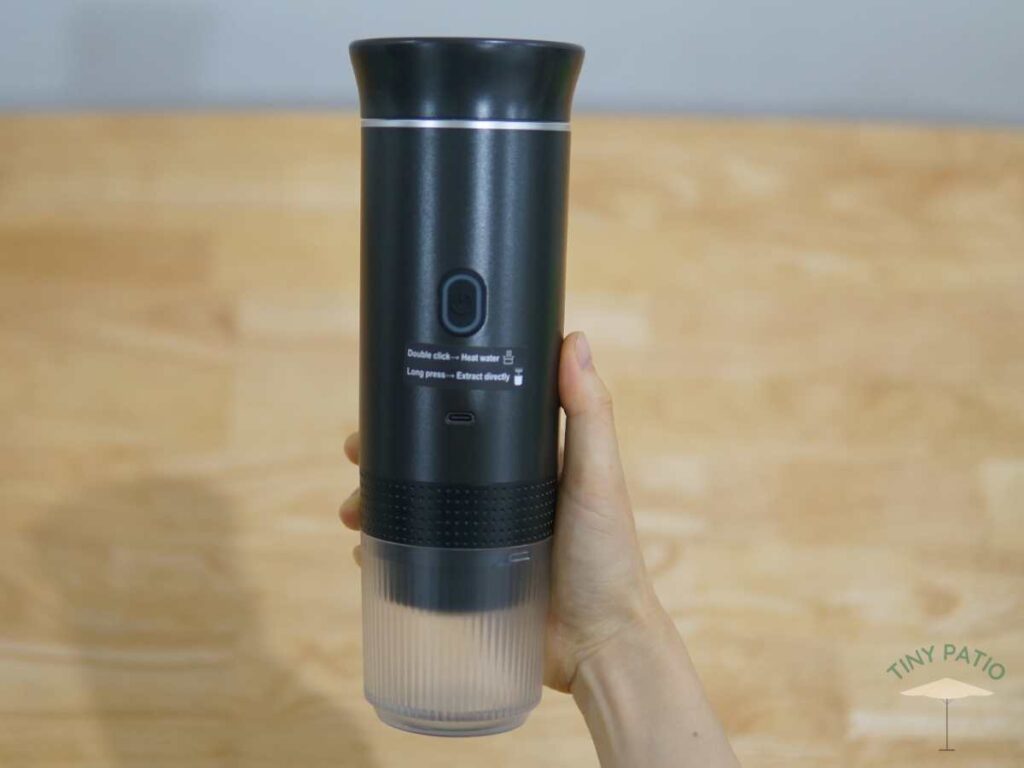
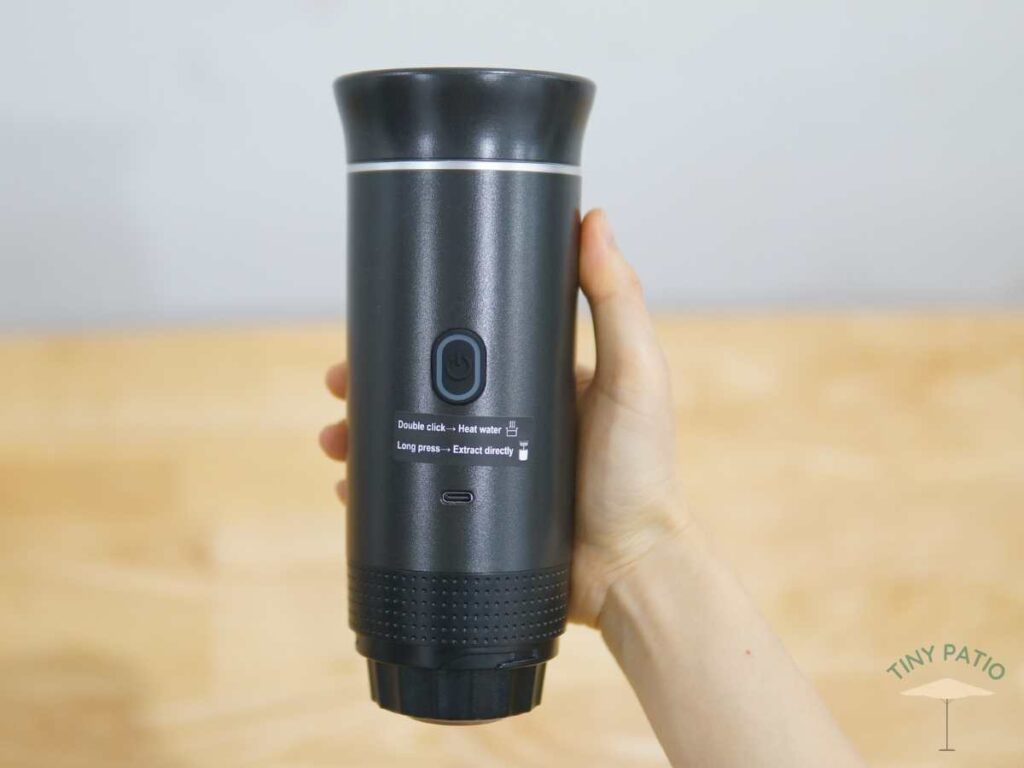
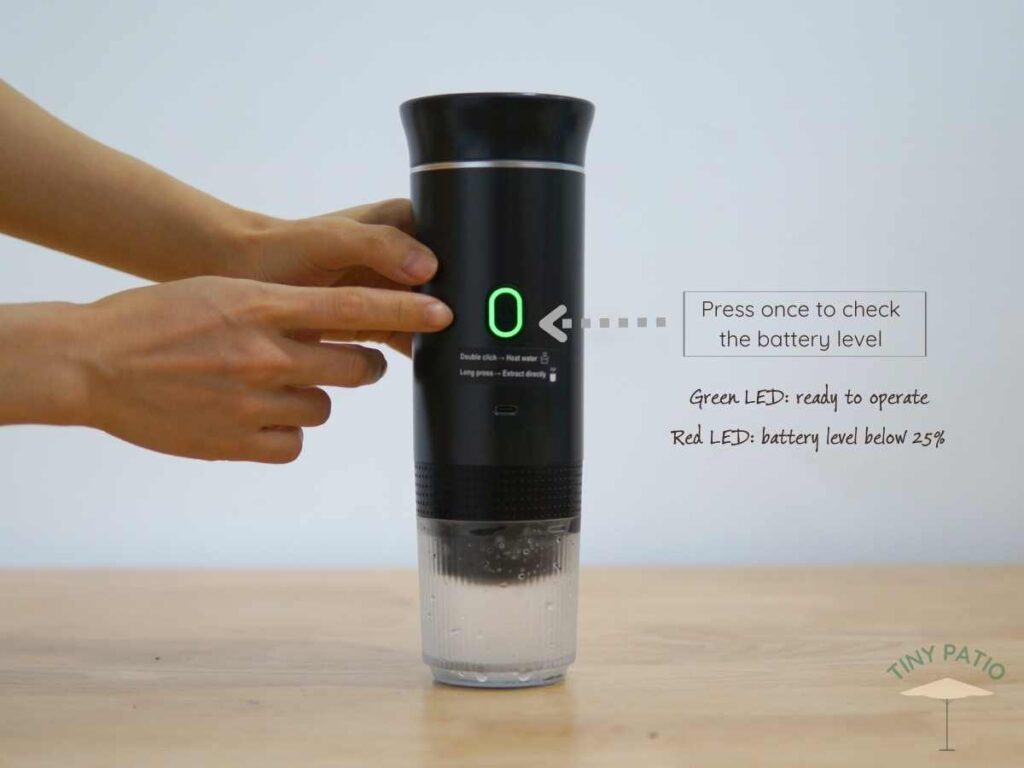
Step 7: Add 30ml of cold/warm/hot water (using hot water will help save battery power). Press the power button once to check the battery level.
The water container has a capacity of 60ml. If you’d like an Americano-style coffee, add 60ml of water. If you prefer a standard espresso shot, 30–40ml of water is recommended.
Step 8/1 - If you use hot water, long press to extract coffee (green LED running).
Step 8/2 - For cold/warm water, implement a double press to heat the water to 86°C/186.8°F (yellow-orange LED running); heating time depends on the initial temperature of water.
In the below video, we use warm water, so the heating time is about 2 minutes 25 seconds. Coffee will be extracted automatically.
Q&A: Do I need to press the button again to make the extraction stop or does it stop automatically?
– The extraction lasts approximately 65 seconds. It will stop automatically; you can also press the button once if you want to stop the machine in the middle of the extraction.
We used two simple methods of coffee brewing, and what we got are shown below. See the thin layer of foam?
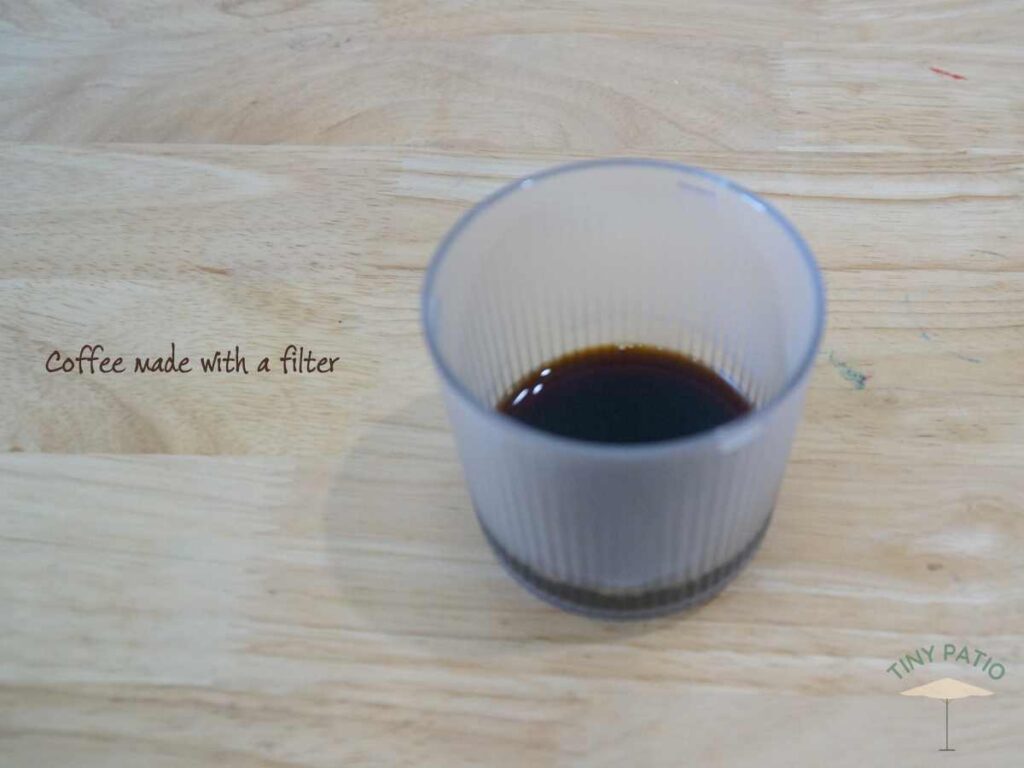
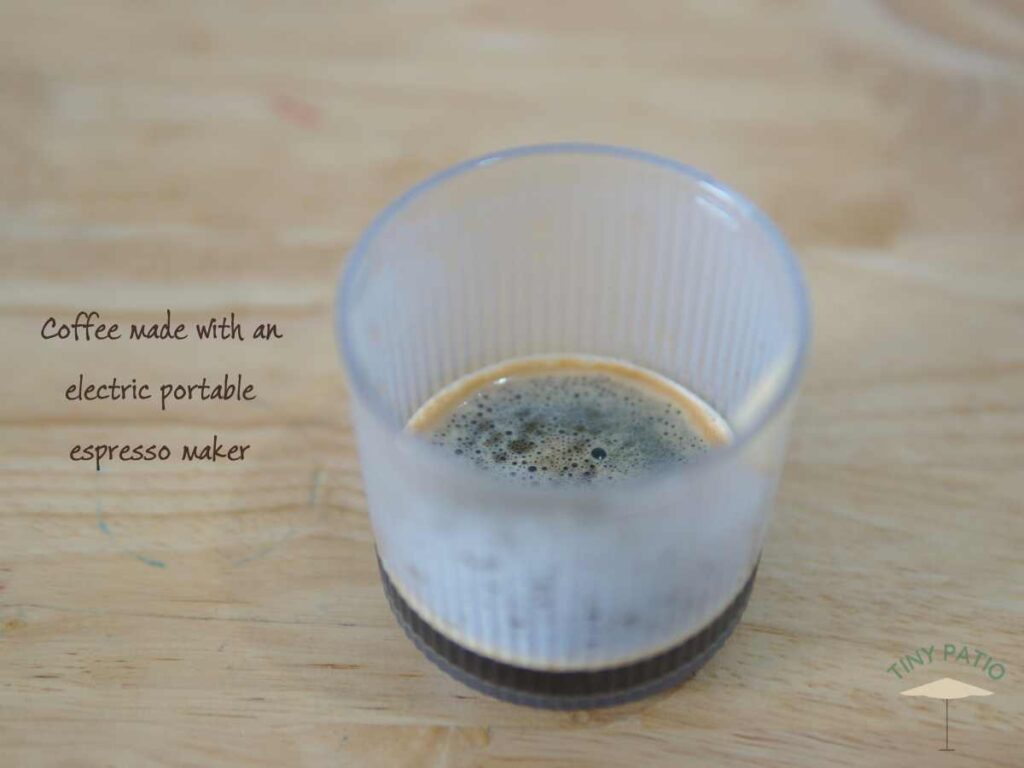
Using a filter, such as a Vietnamese phin filter, allows us to brew 2 or 3 cups of coffee at once, whereas the electric portable espresso maker produces one shot at a time. However, coffee made with the electric machine develops a nice crema and releases an amazing aroma during extraction. It’s worth giving it a go. If you have any questions, feel free to leave a comment.